Last updated Jan 14, 2021 2:14 PM
Document Cameras
BIOT Document Cameras
NOTE: The Document Cameras located in JSCBB/BIOT can only be integrated with Windows 10. You will not be able to integrate the Document Cameras on a Mac.
- Please download the Wolf Vision Stand Alone Video Capture driver here.
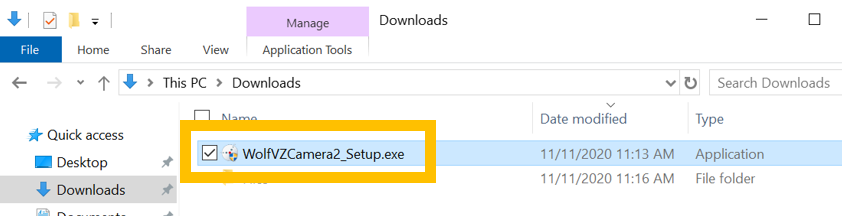
- Locate the file in the Downloads folder in File Explorer and double-click on it to run it.
3. A Windows prompt will appear asking if you would like to allow the application to make changes, please select Yes. If you are not logged in to an Administrator account, you will need the Administrator credentials to proceed.
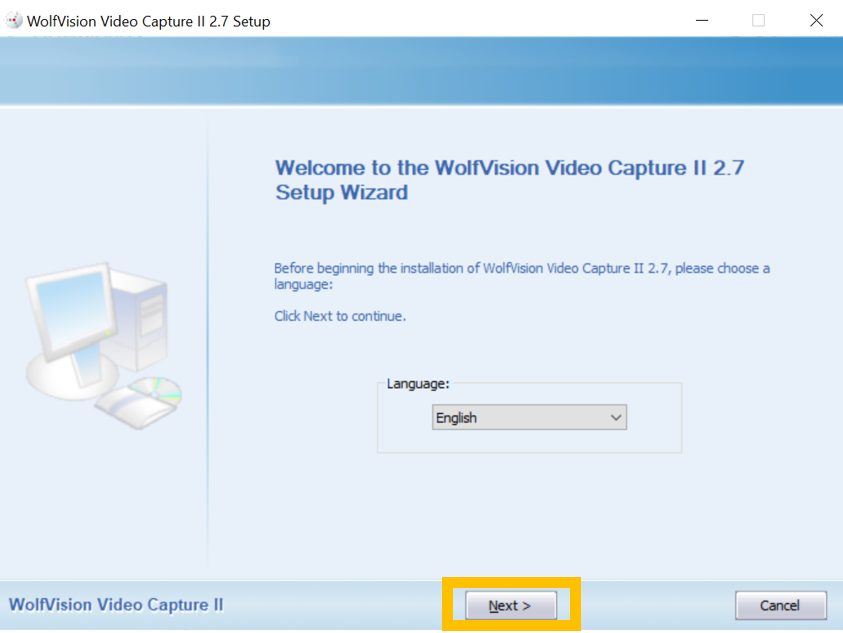
4. The Wolf Vision Video Capture II 2.7 Setup window will open. Click Next.
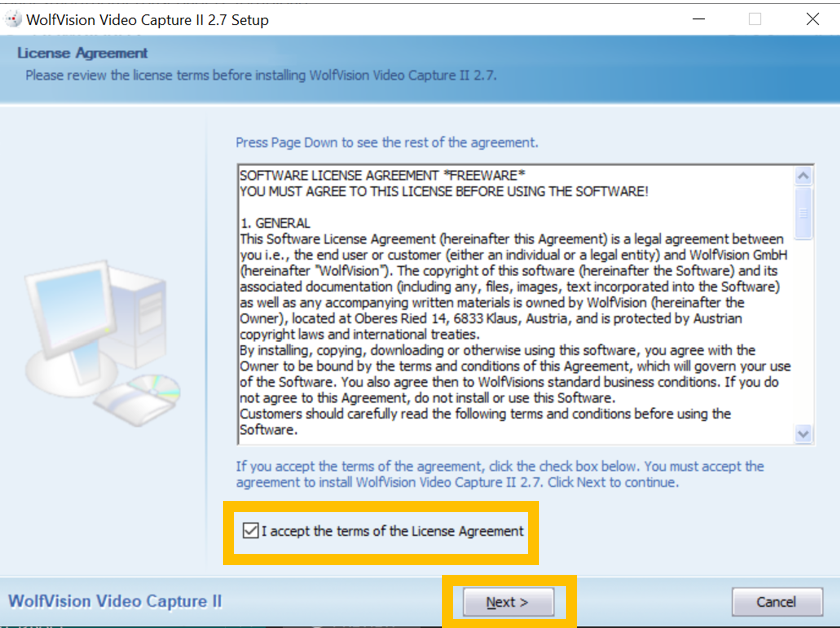
5. On the next window, please read through the License Agreement
Select the Check Box next to "I accept the terms of the License Agreement." Then, click Next.
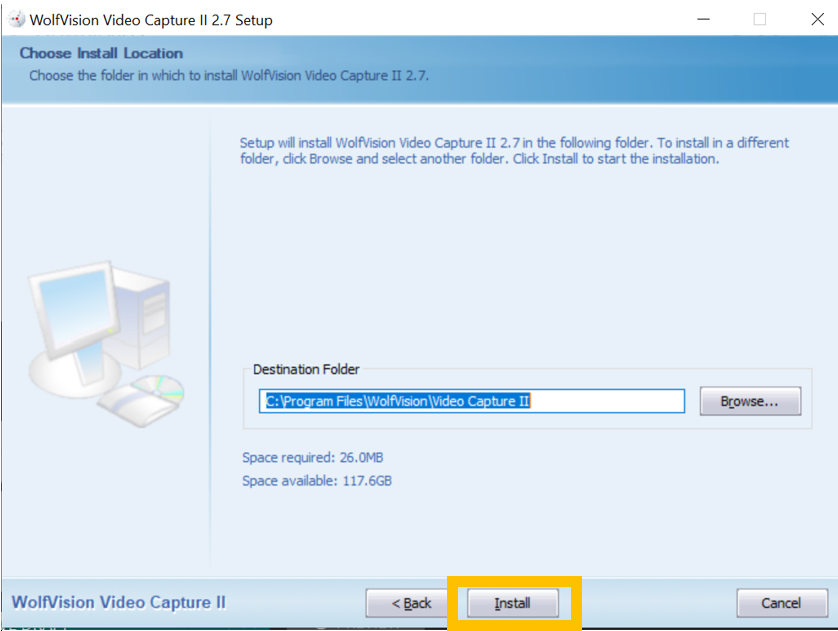
6. Select the Destination Folder. You can choose to leave this as the default location.
Then, click Install.
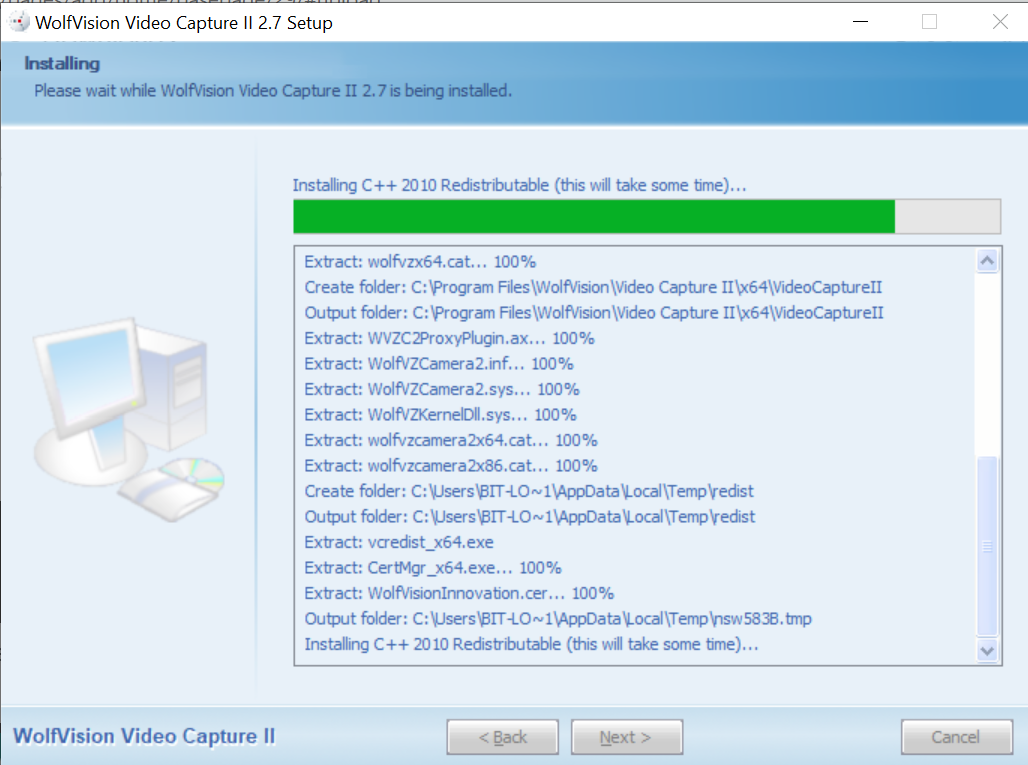
7. Allow the program to install. You will see a window like this one while it installs:
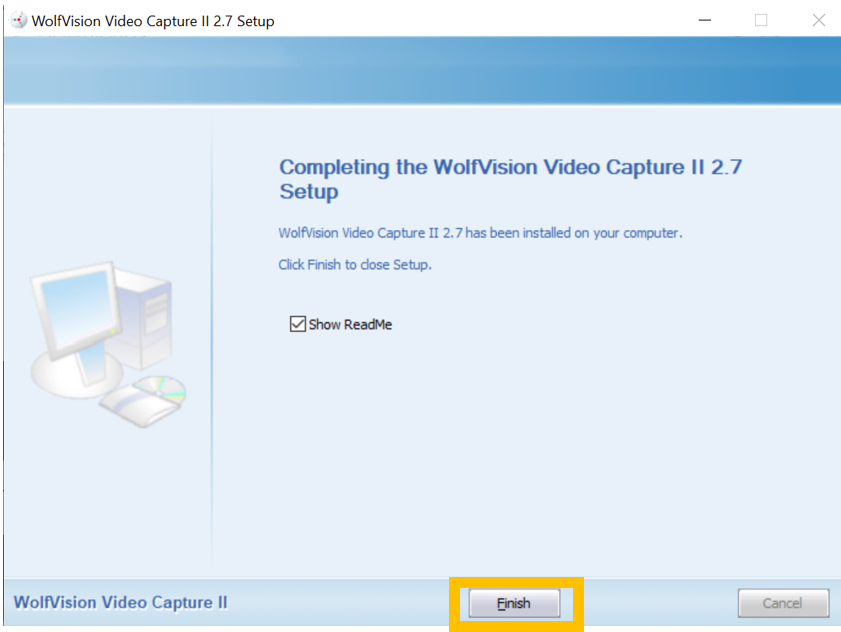
8. Once the installation completes, click Finish.
After doing so, the window will close.
9. Plug in the USB Cable connected to the Document Camera to your computer. Please disable Auto Zoom on the Document Camera using the buttons located on the device.
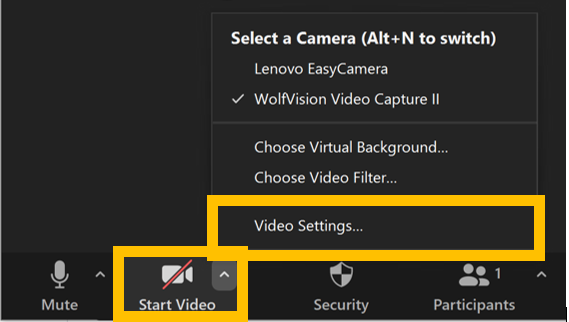
10. Open Zoom and start your meeting.
Within the Zoom Meeting window, in the bottom left-hand corner, select the Video icon.
Then, select Video Settings...
11. In the Video Settings window, select WolfVision Video Capture II in the Camera options and select 16:9 (Widescreen) ratio.
Deselect all options under the My Video options except for Enable HD.
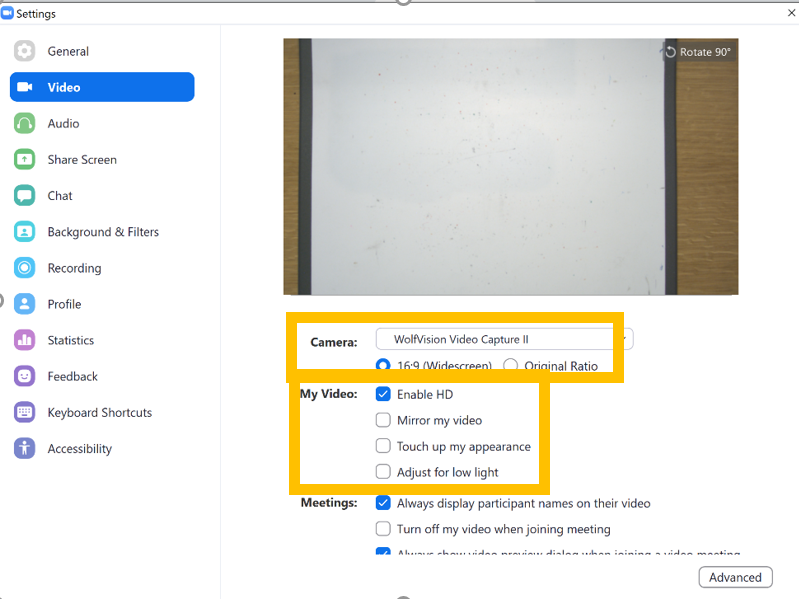
The Meeting Participants will now be able to see the Document Camera feed in your video feed.
If any additional assistance is needed, please submit a ticket to bit-help@colorado.edu.